Seafoam Stripes
(10 + 6)
Row 1 (RS): Using Colour A, k6, * yo, k1, yo twice, k1,
yo 3 times, k1, yo twice, k1, yo, k6; rep from *, k3.
Row 2 (WS):
Using Colour A, knit to final marker dropping all yarn overs.
Row 3:
Using Colour B, knit to end of row.
Row 4: Using Colour B, knit to end of row.
Row 5:
Using Colour A , k1, * yo, k1, yo twice, k1, yo 3 times, k1, yo twice, k1, yo,
k6; rep from *, end last repeat as k1.
Row 6:
Using Colour A, knit to final marker dropping all yarn overs.
Row 7:
Using Colour B, knit to final marker.
Row 8: Using Colour B, knit to final marker.
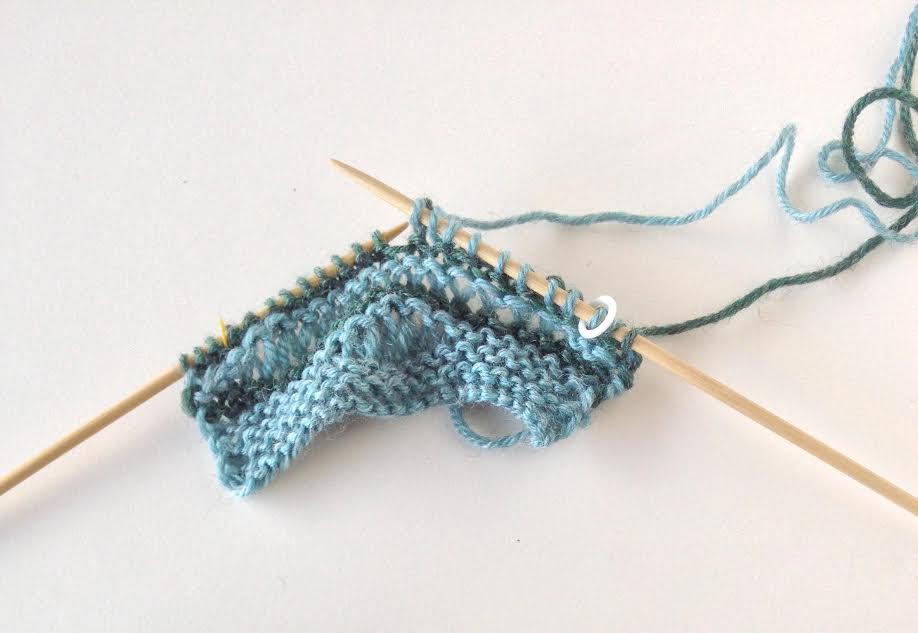
Here I've worked one repeat so you can see the stitch pattern starting. As in the last pattern it's staggered in a brick laying pattern. You can click on the photos to make them larger. I've worked the k6 of Row 1 below.


Here's the first yo, k1.
Next I've done the yo twice, k1, yo 3 times.

Then I've worked Row 1 to the end and I'm on Row 2. The first 6 stitches are knit. Now I'm at the yo which will be dropped from my needle.

The way to know quickly which stitches to drop and which ones to knit? Look for the purl bump in a different colour from the previous row.

It's easier to identify the yo with the extra wraps because they get so large. My most common mistake with this pattern was to accidentally knit the single yo and increase my work by a stitch or two. Once I started reading my knitting by watching for and knitting only into the stitches with the opposite colour purl bump at the bottom I stopped making that mistake.

http://knittingrobin.blogspot.ca/2016/10/how-to-read-your-knitting-part-1.html
http://knittingrobin.blogspot.ca/2016/10/how-to-read-your-knitting-part-2.html
http://knittingrobin.blogspot.ca/2016/11/how-to-read-your-knitting-part-3.html
http://knittingrobin.blogspot.ca/2016/11/how-to-read-your-knitting-part-4.html
http://knittingrobin.blogspot.ca/2016/12/how-to-read-your-knitting-part-5.html
http://knittingrobin.blogspot.ca/2016/12/how-to-read-your-knitting-part-6.html
http://knittingrobin.blogspot.ca/2016/12/how-to-read-your-knitting-part-7.html
http://knittingrobin.blogspot.ca/2016/12/how-to-read-your-knitting-part-8.html


No comments:
Post a Comment